Table of Contents
Categories

KOLISTI Team
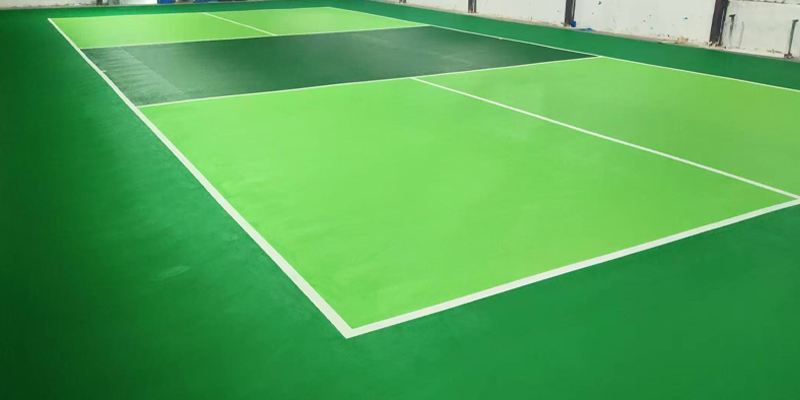
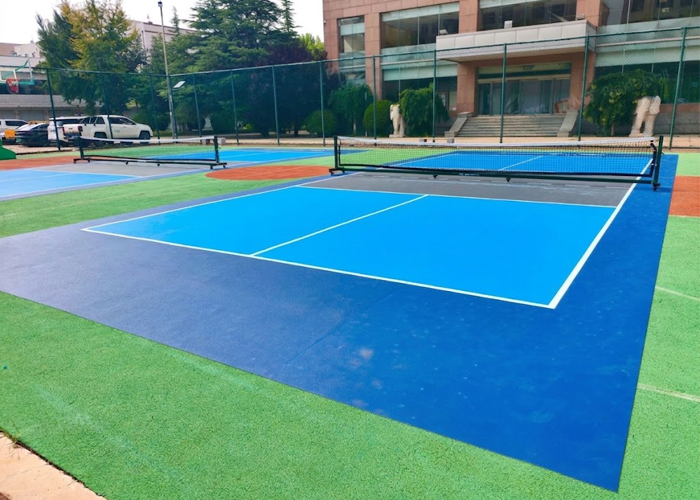
Roll-out pickleball court flooring is designed to provide a practical and flexible surface solution for both indoor and outdoor pickleball courts. Unlike modular tiles that are assembled piece by piece, roll-out flooring is supplied in large rolls that can be positioned across the playing area and joined together at the seams.
One of the main advantages of roll-out pickleball flooring is its installation flexibility. Depending on the project, the flooring can be installed using double-sided tape for a temporary or removable application, or hot-welded seams for a more permanent installation.
In this guide, we explain how to install roll-out pickleball court flooring step by step, including surface preparation, flooring layout, double-sided tape installation, and hot-welded seam installation.
What Is Roll-Out Pickleball Court Flooring?
Roll-out pickleball court flooring is a prefabricated court surface supplied in rolls rather than individual tiles or panels.
For example, KOLISTI roll-out acrylic pickleball court flooring is approximately 3 mm thick and combines a PVC base layer with a modified acrylic surface and quartz texture. The flooring is designed for both indoor and outdoor use when installed on a suitable hard, flat, and clean surface.
The standard roll width is 1.8 meters, allowing multiple rolls to be positioned next to each other to cover a pickleball court.
The main installation options are:
- Double-sided tape installation – suitable for temporary, removable, or semi-permanent applications.
- Hot-welded seam installation – suitable when a stronger, more permanent connection between flooring rolls is required.
The best installation method depends on the location, expected service life, and whether the flooring needs to be removed or relocated later.
Step 1: Prepare the Installation Surface
Before installing any roll-out pickleball court flooring, the most important step is preparing the base.
The flooring should be installed on a hard, flat, clean, dry, and structurally sound surface.
Suitable bases may include:
- Concrete
- Asphalt
- Existing hard sports surfaces such as woode floor
- Other suitable smooth and stable substrates
The surface should be inspected carefully before installation.
Remove:
- Dust and dirt
- Loose particles
- Oil and grease
- Standing water
- Construction debris
- Sharp objects
- Any loose or damaged material
The base should also be reasonably flat. Large cracks, holes, uneven areas, or significant surface defects should be repaired before the flooring is installed.
Why is surface preparation important?
Roll-out flooring follows the condition of the surface underneath it. If the base contains large bumps, depressions, loose materials, or contamination, these problems can affect the appearance and performance of the finished court.
A properly prepared base also helps the flooring remain stable after installation.
Step 2: Plan the Flooring Layout
Before applying tape or welding any seams, plan the complete flooring layout.
This is particularly important because roll-out flooring is supplied in large rolls and the position of each roll affects the final court dimensions and seam locations.
For a standard pickleball court, the playing area is approximately 6.10 × 13.41 meters (20 × 44 feet). Additional space around the court may be required depending on the facility and project requirements.
Before fixing the flooring permanently:
- Determine the overall flooring area.
- Confirm the direction of each roll.
- Position the rolls according to the planned layout.
- Check the location of all seams.
- Make sure the flooring extends sufficiently across the required area.
- Confirm the final court position before installation.
Taking time to plan the layout can prevent unnecessary cutting and repositioning later.
Step 3: Unroll and Position the Flooring
After preparing the surface and confirming the layout, carefully unroll the flooring.
Because the material is supplied in rolls, it may show some temporary curl or tension immediately after being unrolled. Allow the flooring to settle before completing the final installation.
Position each roll according to the planned layout.
Pay particular attention to the seams between adjacent rolls.
The edges should be:
- Properly aligned
- Straight
- Closely positioned
- Free from dirt or debris
Inspect the entire surface for visible wrinkles, folds, air pockets, or other installation issues before fixing the flooring.
Do not rush this stage. Once the flooring has been fixed with tape or permanently welded, correcting the position can become more difficult.
Installation Method 1: Double-Sided Tape
Double-sided tape is a practical option when the pickleball flooring needs to be installed temporarily or when future removal is expected.
This method can be suitable for:
- · Indoor pickleball courts
- · Temporary courts
- · Events and tournaments
- · Multi-purpose facilities
- · Exhibition or demonstration areas
- · Projects where the flooring may need to be removed later
The main advantage is flexibility. The flooring can be secured without permanently bonding the entire installation to the base.
How to Install Roll-Out Pickleball Flooring with Double-Sided Tape
1. Position the flooring
Unroll and position the flooring according to the planned layout.
Make sure adjacent rolls are correctly aligned before applying the tape.
2. Fold back the flooring where necessary
Carefully fold or roll back the flooring along the area where the tape will be applied.
Avoid creating sharp folds or damaging the flooring during this process.
3. Apply the double-sided tape
Apply suitable double-sided flooring tape to the prepared base according to the installation plan.
The tape should be positioned so that it can effectively secure the flooring and help maintain the alignment of the rolls.
For seam areas, make sure the tape provides sufficient support for the adjacent flooring edges.
4. Remove the protective liner
Once the tape has been correctly positioned, remove the protective liner to expose the adhesive surface.
Work carefully to avoid contaminating the exposed adhesive with dust or debris.
5. Lay the flooring onto the tape
Carefully place the flooring back into position.
Start from one side and gradually press the flooring onto the adhesive area to minimize wrinkles and trapped air.
6. Press the flooring firmly
Apply even pressure across the taped area to ensure good contact between the flooring and tape.
Pay particular attention to:
- Seams
- Edges
- Corners
- Areas where the flooring may experience movement
7. Inspect the installation
After installation, walk over the surface and visually inspect the complete court.
Check for:
- Loose edges
- Wrinkles
- Misaligned seams
- Air pockets
- Areas where the flooring has not properly adhered
Correct any installation issues before the court is put into use.
A capable manufacturer should demonstrate more than a polished catalog. Buyers should investigate production experience, quality-control procedures, equipment, workforce capabilities, material sourcing, inspection routines, and actual production capacity. These factors provide a clearer picture of whether the supplier can support sustained commercial demand.
Capacity should also be interpreted intelligently. A manufacturer claiming extremely high output is not necessarily the best choice if its quality-control system is weak. For global brands, reliable repeatability often matters more than impressive headline capacity.
Installation Method 2: Hot-Welded Seams
FOB price is important, but it is only one component of the commercial equation. Freight, insurance, customs duties, taxes, inland transportation, warehousing, installation accessories, and other destination costs can materially change the final economics. Comparing suppliers solely by FOB price is therefore a classic case of being penny-wise and pound-foolish.
A proper sourcing comparison should calculate total landed cost for a realistic order quantity. This makes it possible to compare suppliers on an apples-to-apples basis rather than being seduced by a low factory price that later becomes expensive after transportation and import costs are added.
How to Install Roll-Out Pickleball Flooring with Hot-Welded Seams
1. Position and align the rolls
First, position all flooring rolls according to the planned layout.
Make sure the adjacent edges are correctly aligned.
Accurate alignment at this stage is extremely important because the seam will later be permanently welded.
2. Prepare the seam
Inspect the joint between the two flooring rolls.
The seam area should be clean and properly positioned before welding begins.
Remove any dirt or debris that could interfere with the welding process.
3. Prepare the hot-welding equipment
Use appropriate hot-welding equipment and welding rod recommended for the flooring system.
Because different flooring materials and welding equipment may require different settings, the welding temperature, speed, and technique should follow the flooring manufacturer’s recommended installation parameters.
4. Begin hot welding
Apply controlled heat to the seam while feeding the compatible welding rod into the joint.
The heat softens the material sufficiently to create a strong bond between the flooring edges and the welding rod.
The operator should maintain a consistent welding motion along the entire seam.
5. Weld the complete seam
Continue welding until the entire length of the joint has been completed.
Avoid stopping unnecessarily in the middle of a seam, as inconsistent welding can affect the final appearance and strength of the joint.
For large pickleball courts, several seams may need to be completed depending on the number of rolls used.
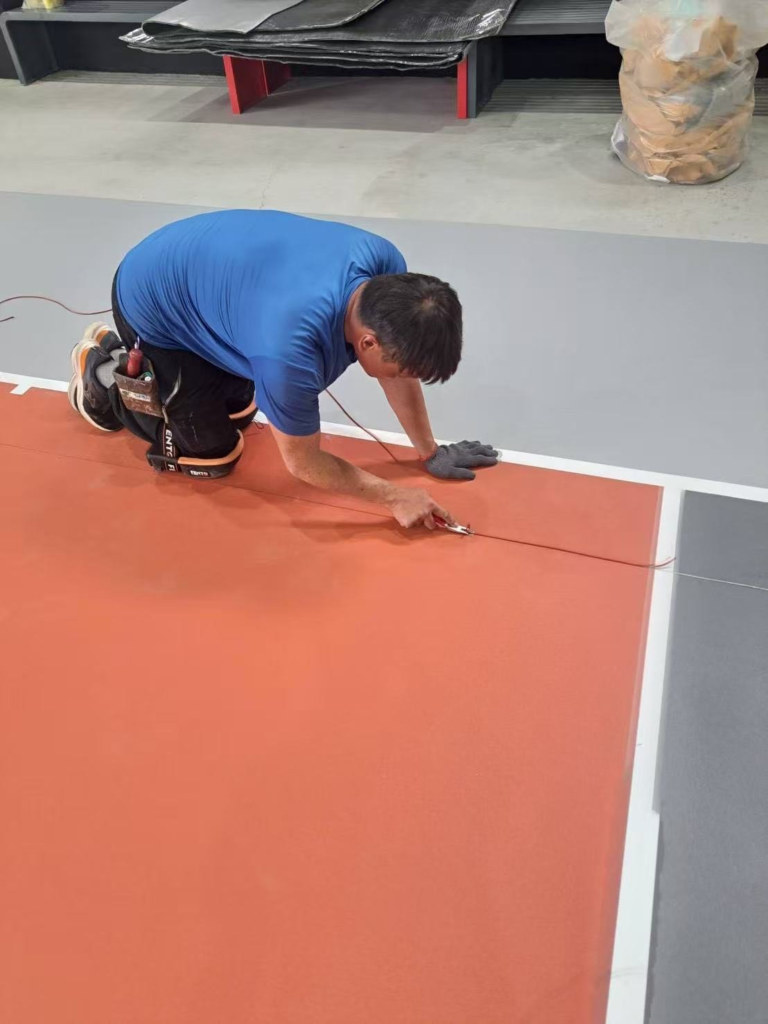
6. Trim excess welding rod
After the welded seam has cooled sufficiently, carefully trim the excess welding rod from the surface.
The finished seam should be neat, smooth, and securely connected.
7. Inspect the welded seam
Finally, inspect the complete seam.
Look for:
- Gaps
- Weakly welded areas
- Excessive welding rod
- Uneven sections
- Visible defects
Any problem should be addressed before the court is opened for play.
Double-Sided Tape vs. Hot-Welded Seams
Both installation methods have their own advantages.
| Feature | Double-Sided Tape | Hot-Welded Seams |
|---|---|---|
| Installation type | Temporary / removable | Permanent |
| Best application | Indoor, events, temporary courts | Permanent indoor/outdoor courts |
| Installation complexity | Relatively simple | Requires welding equipment and skill |
| Removal | Easier | More difficult |
| Seam connection | Taped | Heat welded |
| Outdoor permanent use | Generally less suitable | Recommended |
| Flexibility | High | Lower |
| Long-term installation | Project dependent | Better suited |
There is no single installation method that is ideal for every project.
If the court needs to be installed for an event and removed later, double-sided tape may be the more practical solution.
If the flooring is intended to remain permanently in an outdoor pickleball facility, hot-welded seams are generally the better choice.
Which Installation Method Should You Choose?
The decision mainly depends on the purpose of the court.
Choose double-sided tape when:
- The court is temporary.
- The flooring may need to be removed later.
- The facility has multiple uses.
- You are installing courts for an event.
- The flooring may need to be relocated.
- You want a simpler installation process.
Choose hot-welded seams when:
- The court is intended to be permanent.
- The flooring is being installed outdoors.
- Long-term seam stability is important.
- The flooring will remain in the same location.
- A more integrated finished surface is required.
For a permanent outdoor pickleball court, we generally recommend considering hot-welded seams rather than relying only on double-sided tape.
Final Thoughts
Installing roll-out pickleball court flooring is not simply a matter of unrolling the material and putting it on the floor. Proper surface preparation, accurate layout, careful alignment, and the right seam installation method are all important for achieving a reliable finished court.
For temporary or removable applications, double-sided tape offers a flexible installation solution.
For permanent installations, especially outdoor courts, hot-welded seams provide a more permanent connection between adjacent flooring rolls.
The right choice ultimately depends on the project requirements, the base surface, the expected service life, and whether the flooring needs to be removed in the future.
If you are planning a pickleball court project and are not sure which installation method is suitable, contact KOLISTI for product specifications, flooring samples, court-size recommendations, and installation guidance.
KOLISTI — Pickleball Court Flooring Solutions.
Related Posts
How to Install Roll-Out Pickleball Court Flooring
Cushioned Pickleball Courts: Sourcing Guide for Global Brands
Outdoor Pickleball Court Flooring: 5 Sourcing Tips